Tuesday, February 5, 2013

Rich McCoy Custom Pedal Board - Part 3

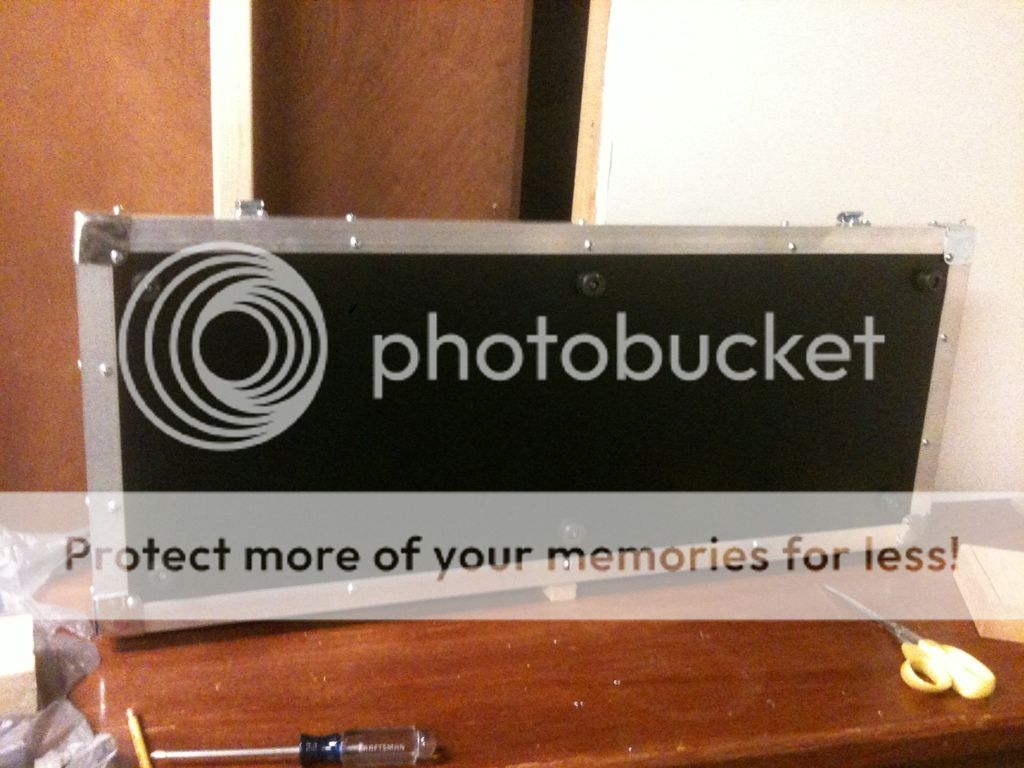
Now it's time to make this thing look like a road case. I covered the box in thick black contact paper, using super glue to hold down any areas that wouldn't stick. Don't have any pictures of this. My hands were full of stick stuff.

For the edges I used 1" angle aluminum from Lowe's. This will help protect the edges for caving in if the case gets kicked, dropped, thrown, etc. I cut the aluminum to length on my scroll saw with a special hack saw blade.
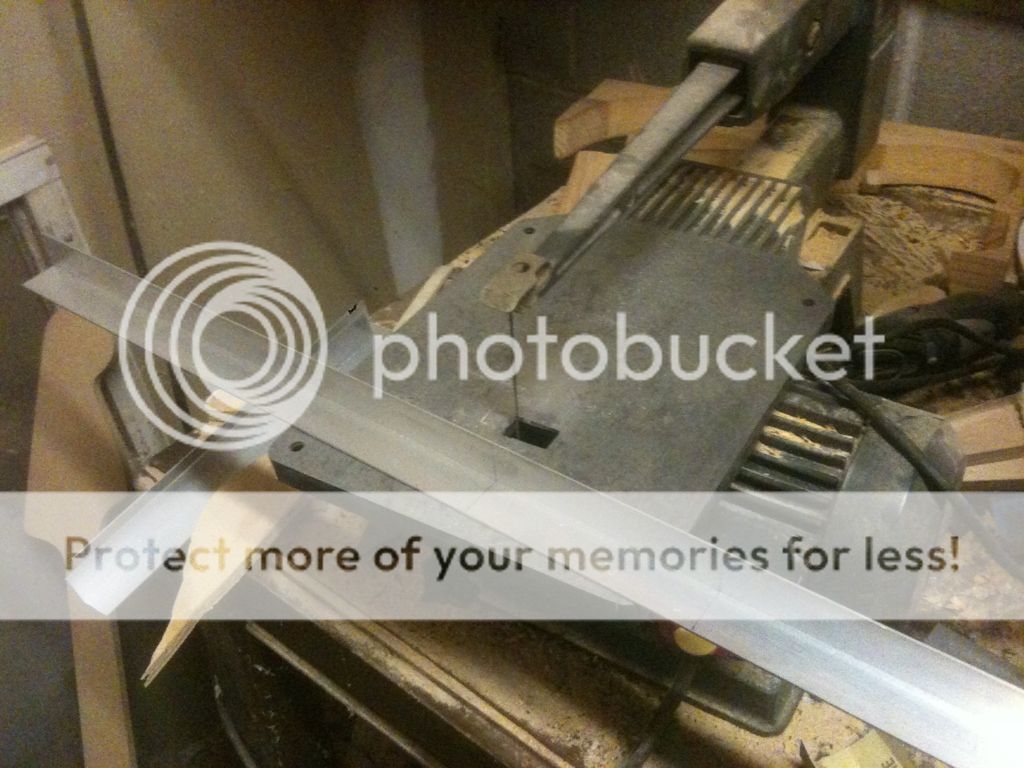

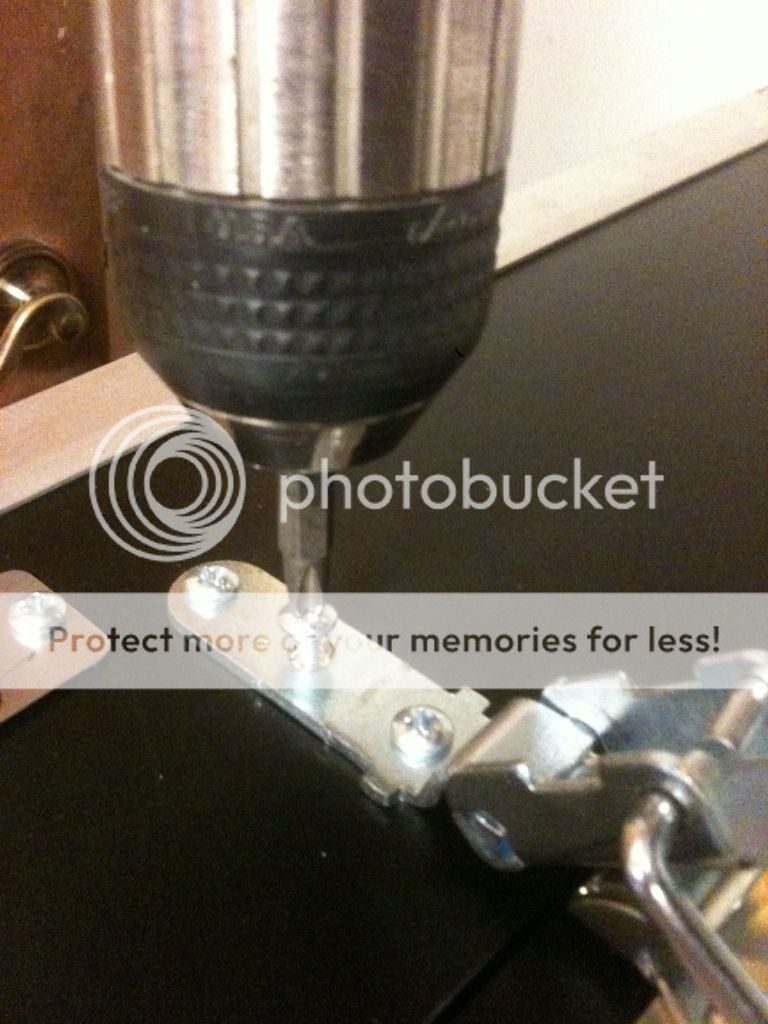
Then I pre-drilled holes in the aluminum pieces and secured secured them to the box using #8 metal screws. I also attached the corners and clamps from Reliable Hardware as I attached the aluminum edging.
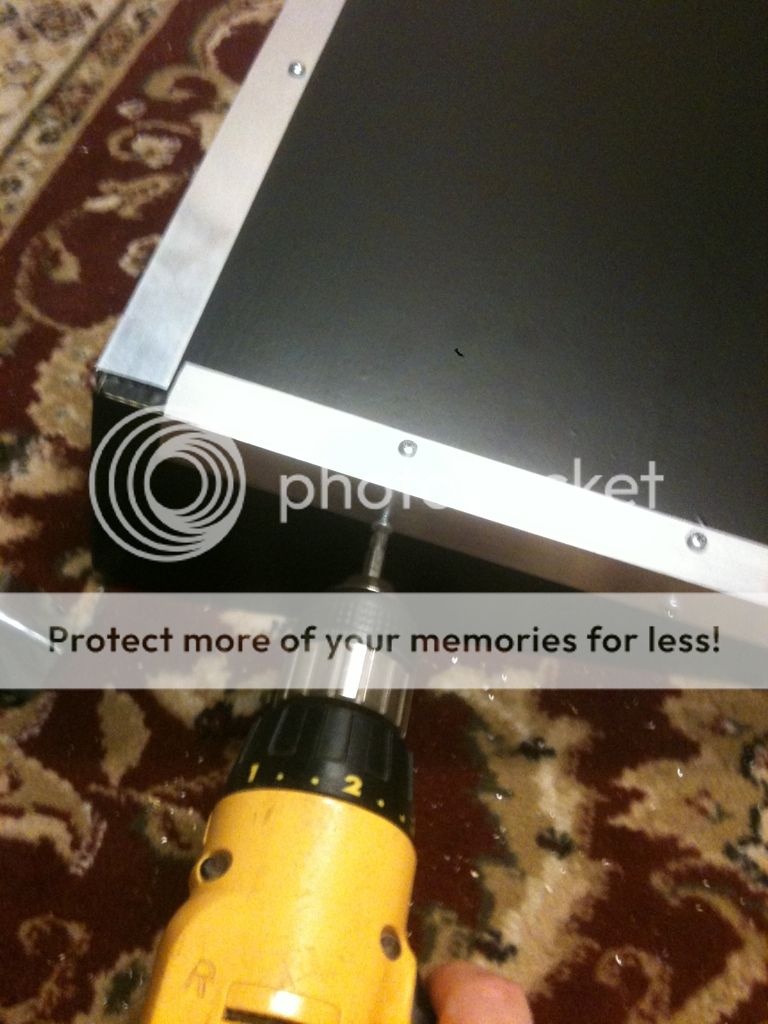
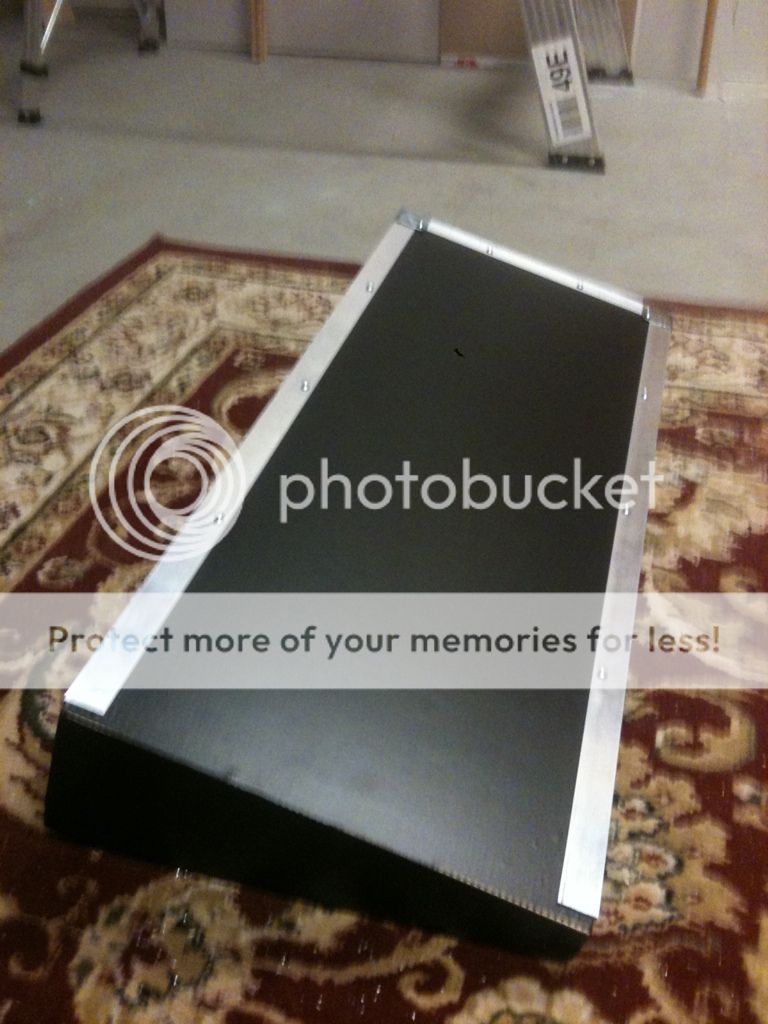
 

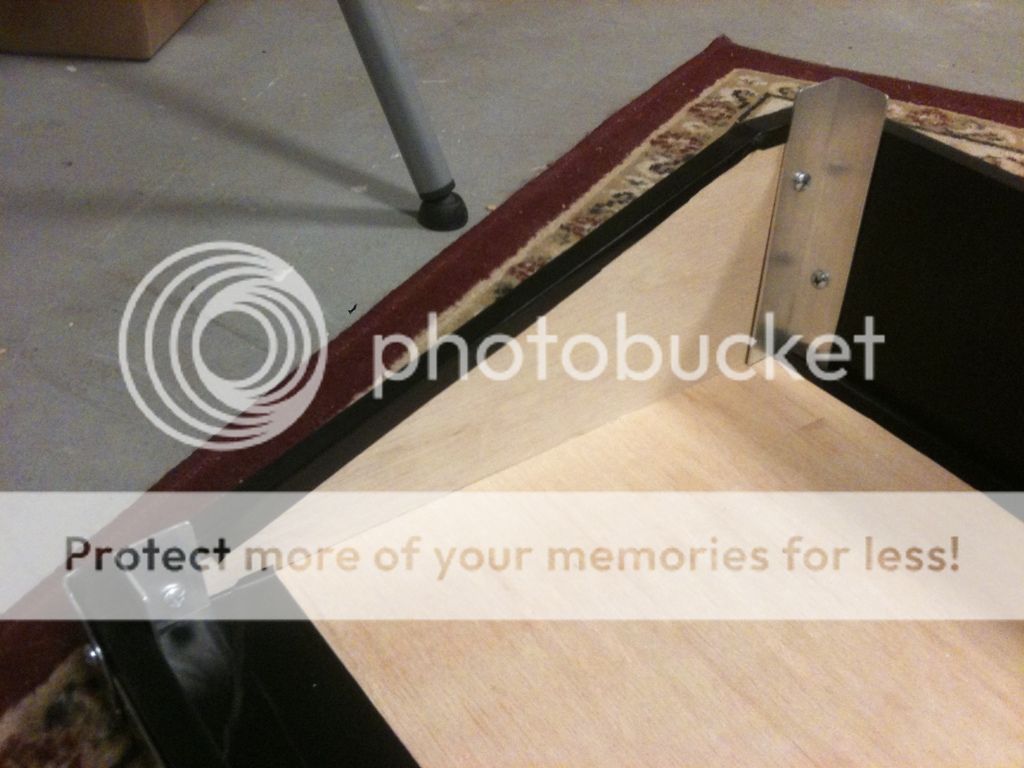
To make sure the top and the bottom halves stay together when the case is latched I took some left over aluminum and screwed it into the corners of the top half, leaving them about half an inch proud. This will keep the two halves from sliding away from each other.

Then, using spray adhesive, I glued some 1" thick foam to the inside of the top to pad and help secure the pedals when the lid is on. 
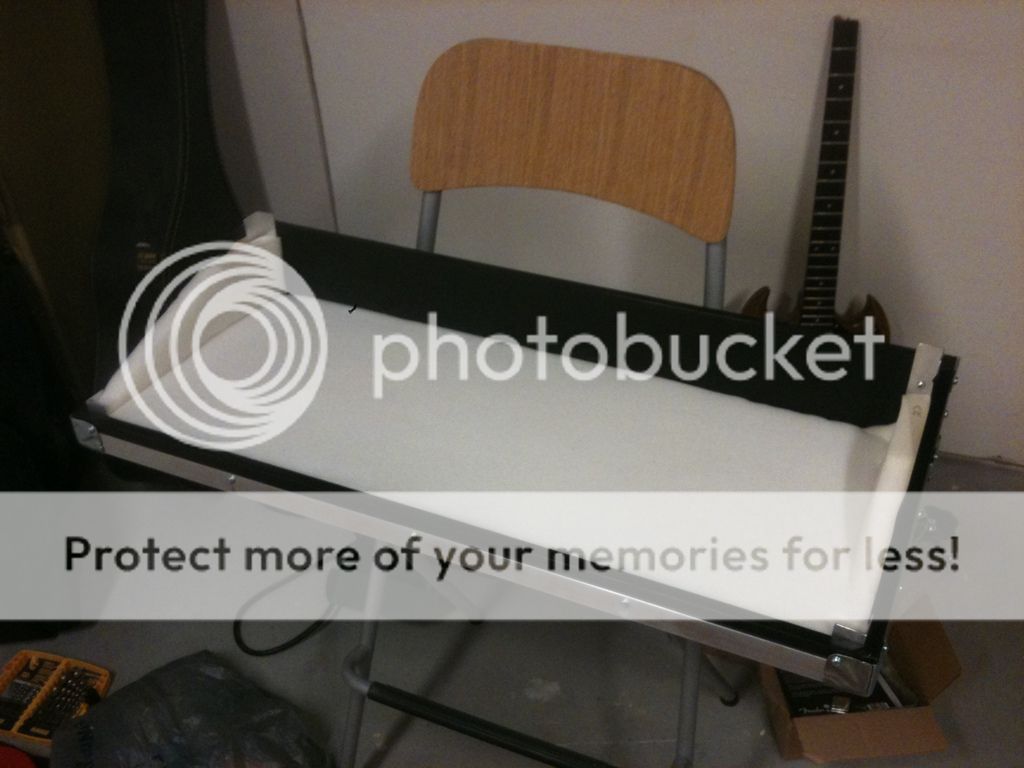
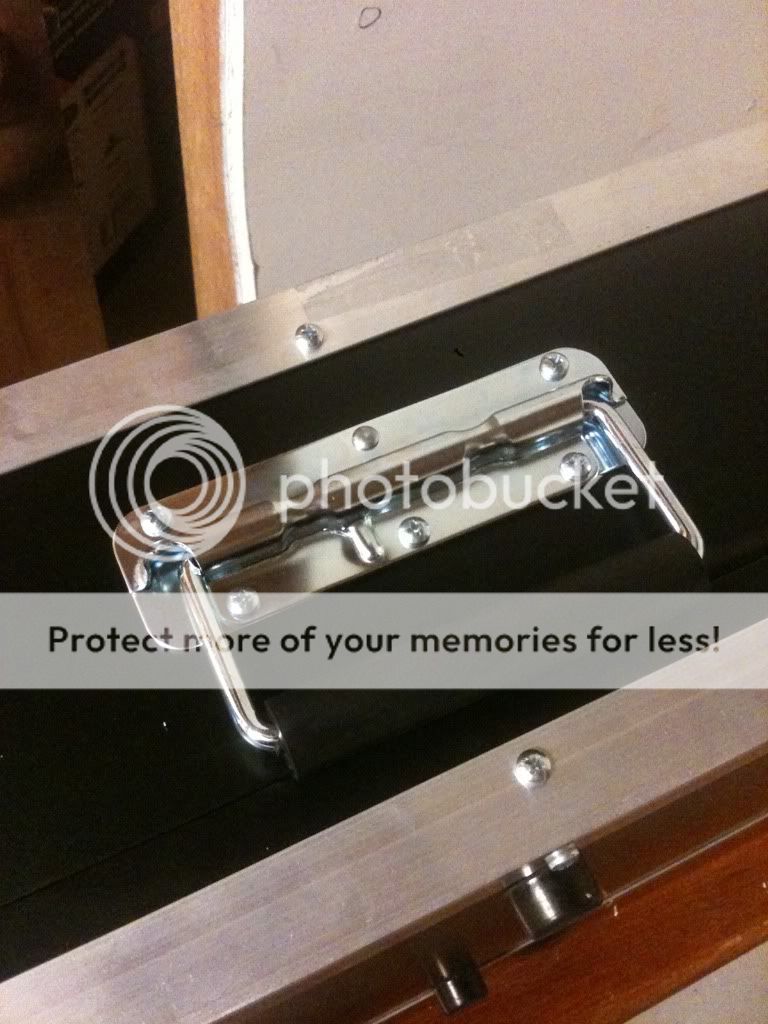
Finally, I attached the rubber feet, handle, and latches.


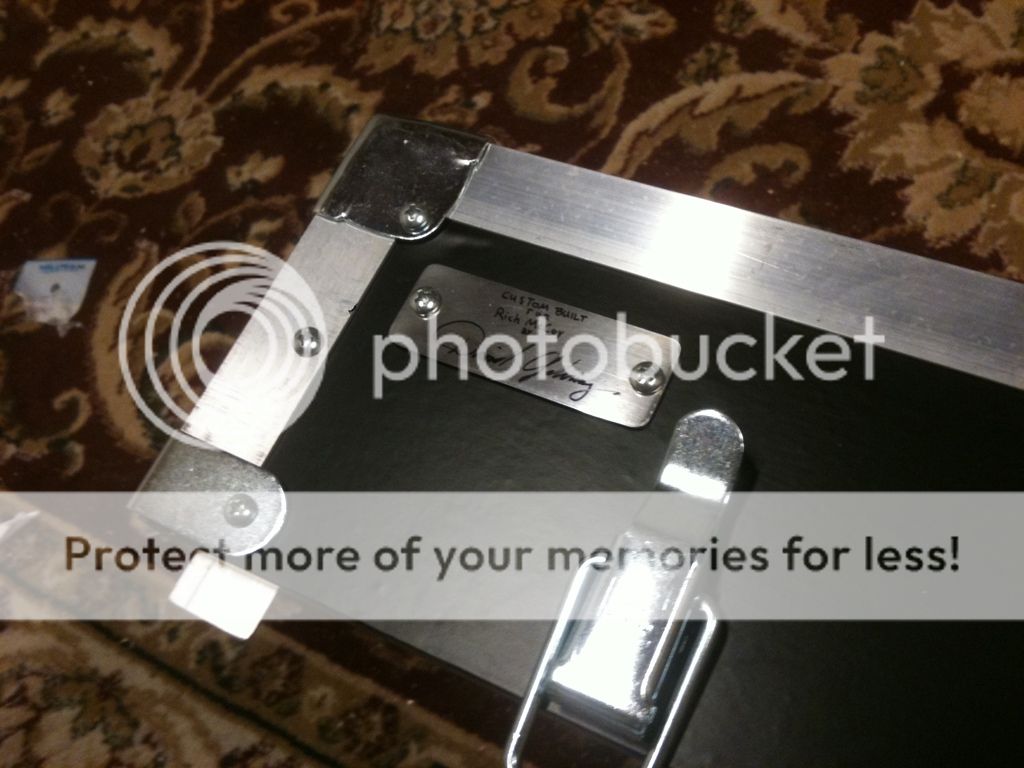
The final touch is a hand inscribed name badge on polished aluminum. (A nice way of saying I scribbled my name on some scrap metal and screwed it on. haha!)
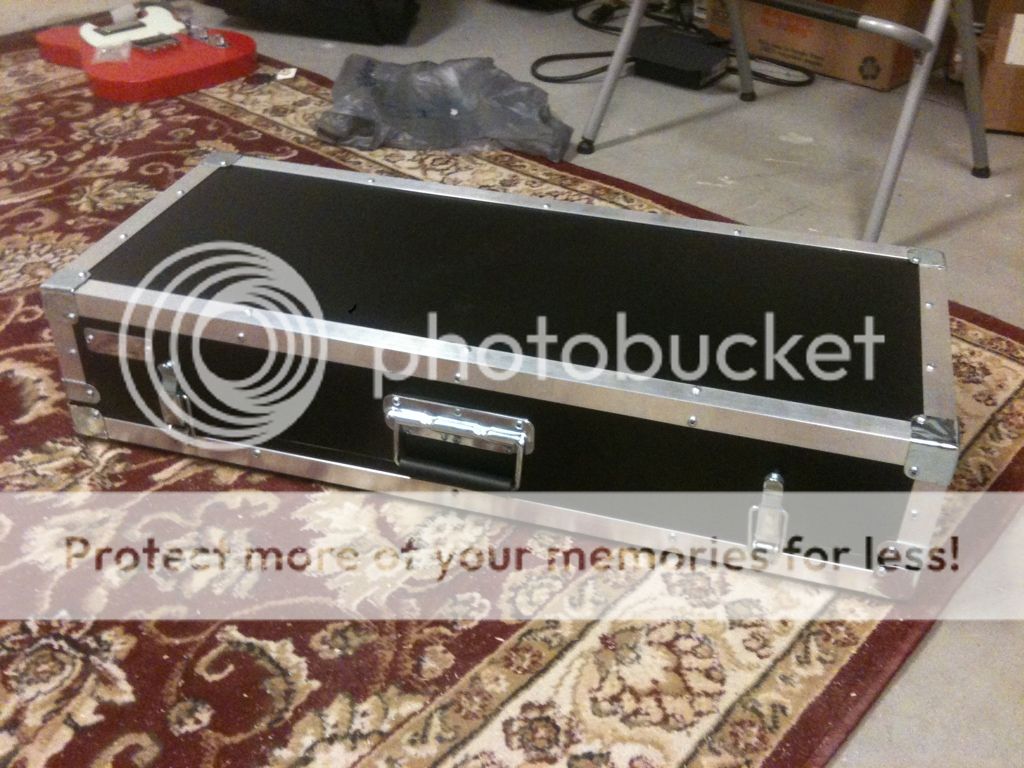
Ready for delivery.


Friday, January 25, 2013

Rich McCoy Custom Pedal Board - Part 2

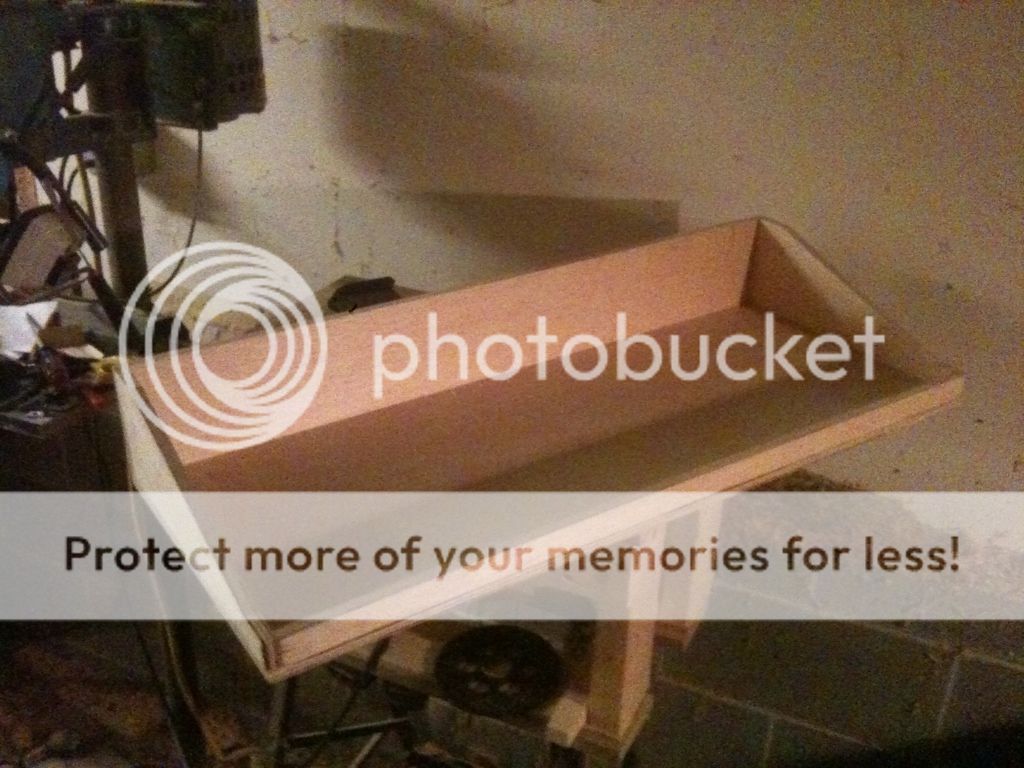
To finish the sides, I need to get the angles to fit together. So to exactly duplicate the first side I completed, I used that same side as a template for all the others. I used double-sided carpet tape to secure the template onto the rough cut sides, then used my router to duplicate the edge exactly.


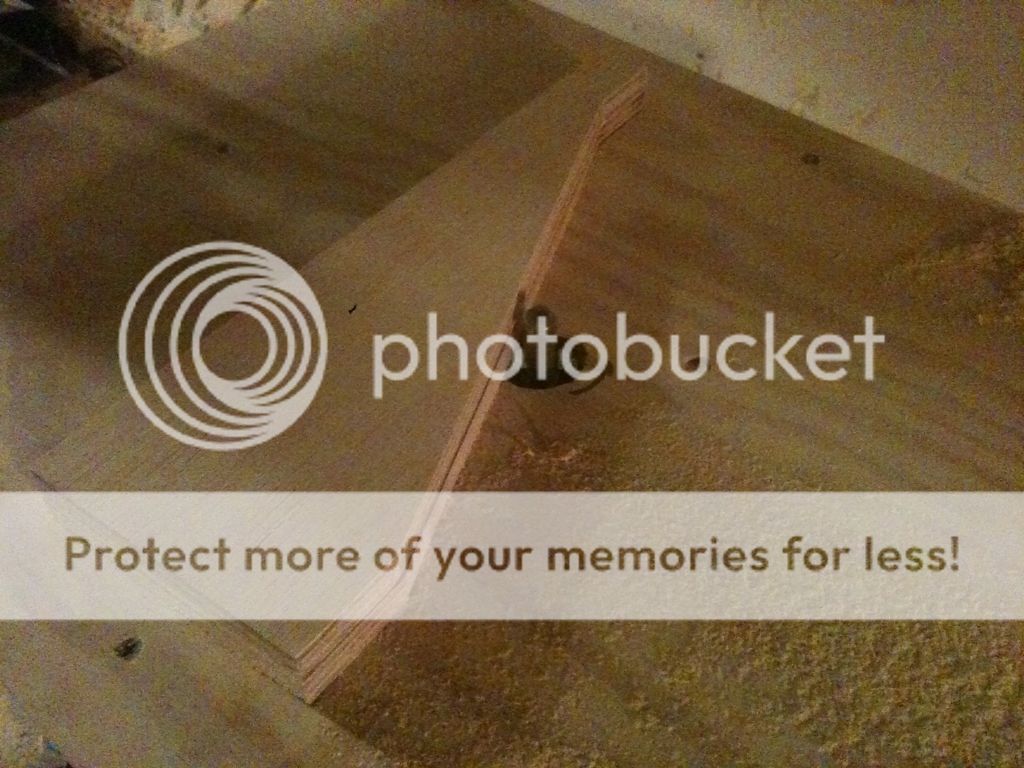
From there I can go on to assembling the two halves of the box. Using 1.75" wire brads, I tacked all the pieces together.


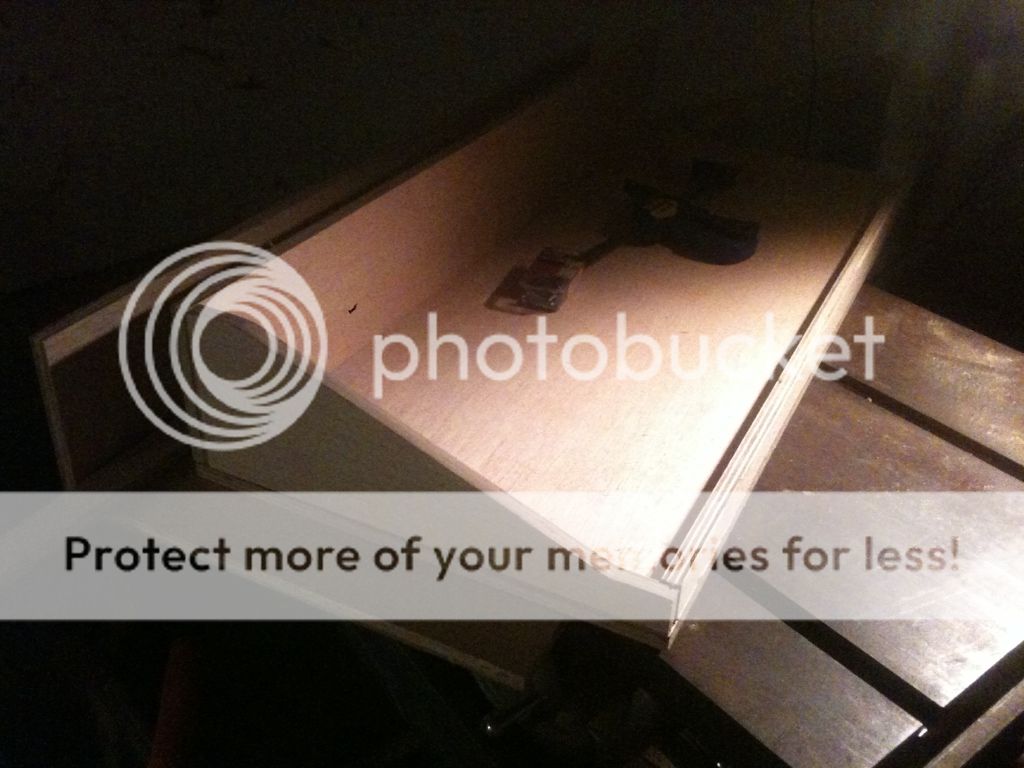
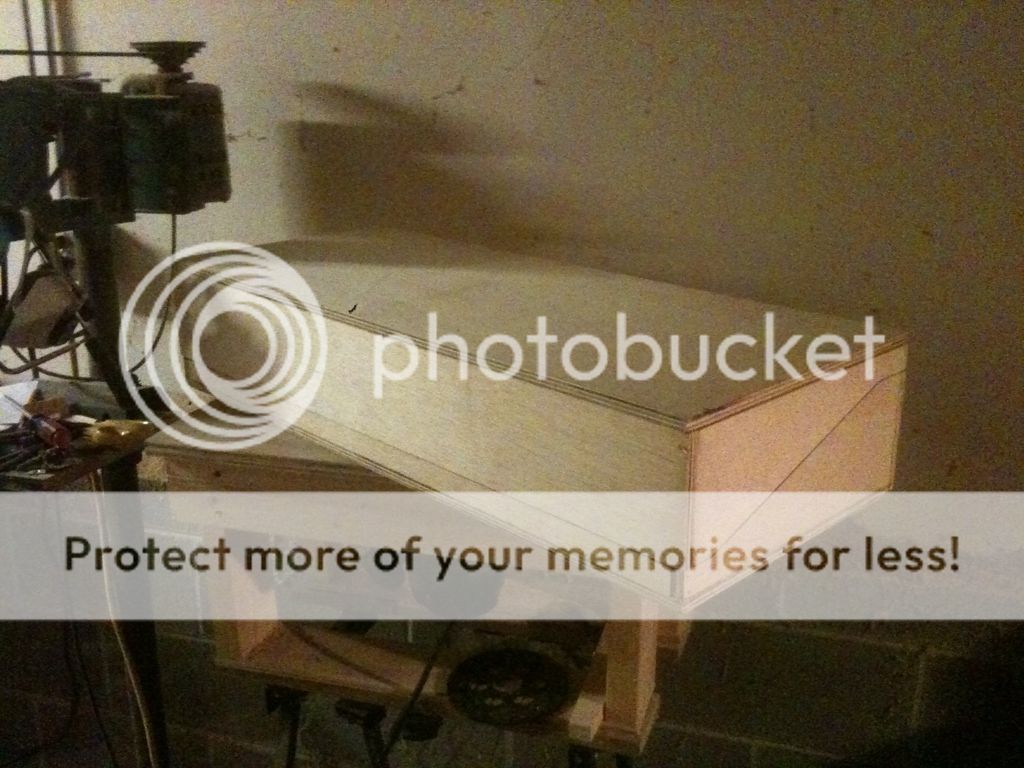
Test fit the top...


Next I'll cover the plywood with thick, black contact paper, and put angle aluminum stock from Lowe's or Home Depot along the edges. This will reinforce and protect the joints from any damage that could occur in handling. On the inside of the top I'll install some 1" thick foam to pad the top of the pedals and keep them from coming loose when the lid is on.

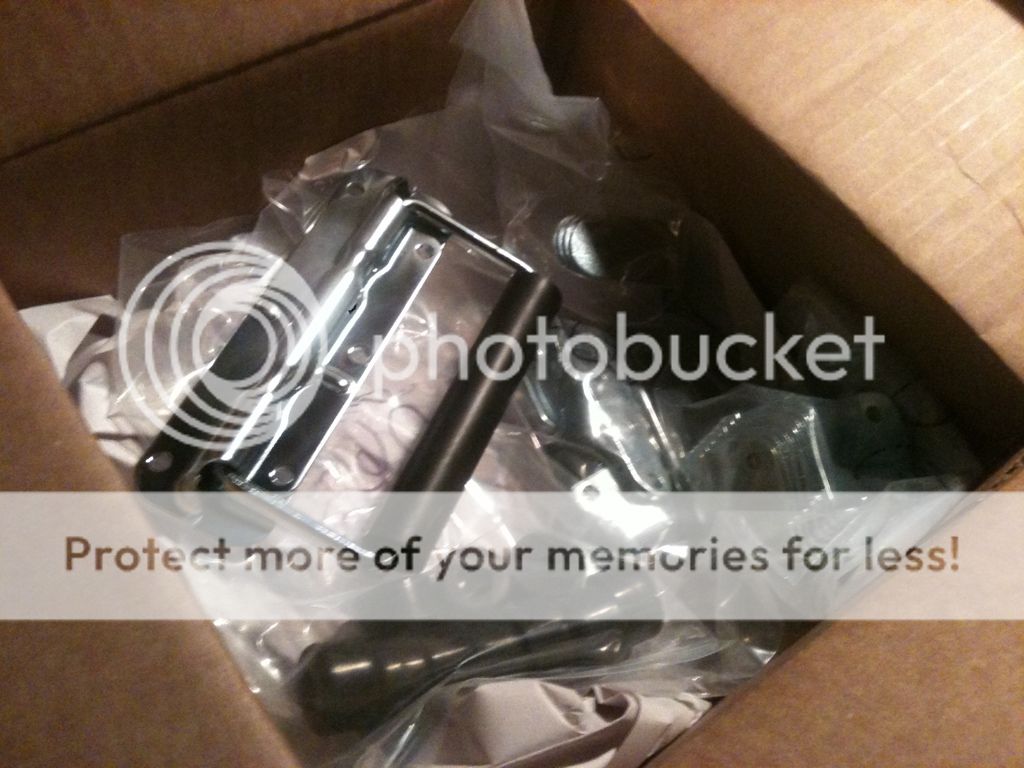
For hardware I ordered the handle, latches, corner pieces and rubber feet from Reliable Hardware. Shipping was a bit steep for the few things I ordered, but they're still the cheapest place that I've found. And all their hardware is made in the USA, so that's a plus.


Rich McCoy Custom Pedal Board - Part 1

Recently the electric guitarist from my church came to me, asking if I could build him a pedal board. He  explained that he'd recently bought a TC Electronics G-system as a second rig.


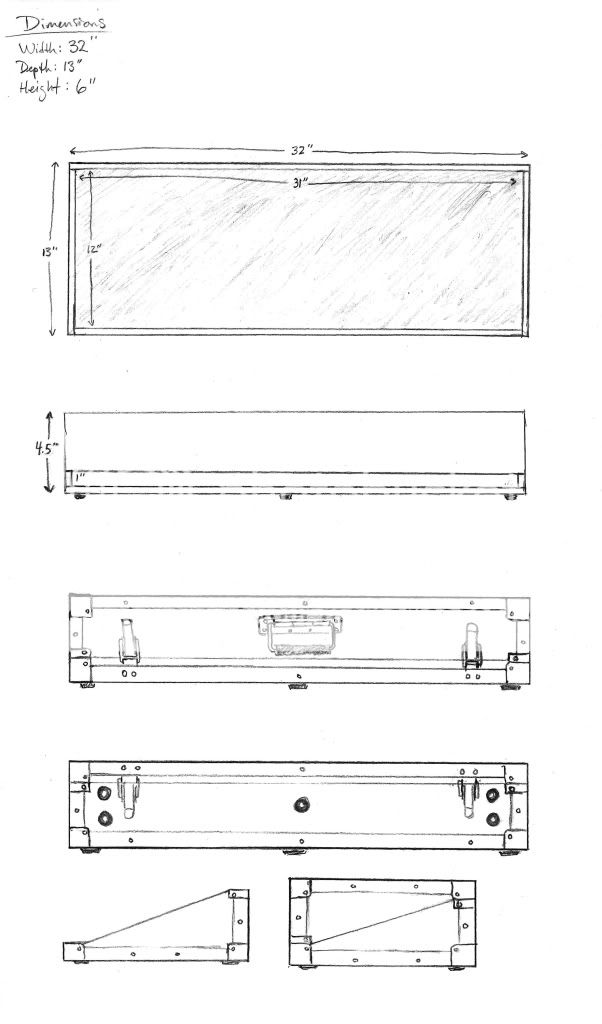
The brain of the G-system will be housed in a rack, along with a couple other pedals, but he wanted a custom board and case for the foot controller and 2 volume/expression pedals. Since the G-system is already angled, he didn't want the board itself to be angled. After some thought we decided to combine the pedal board and road case into one unit–the pedals would attach to the bottom half the case and the upper half would be removable. He sent me some measurements of the footprint of the equipment and I drew up a plan.


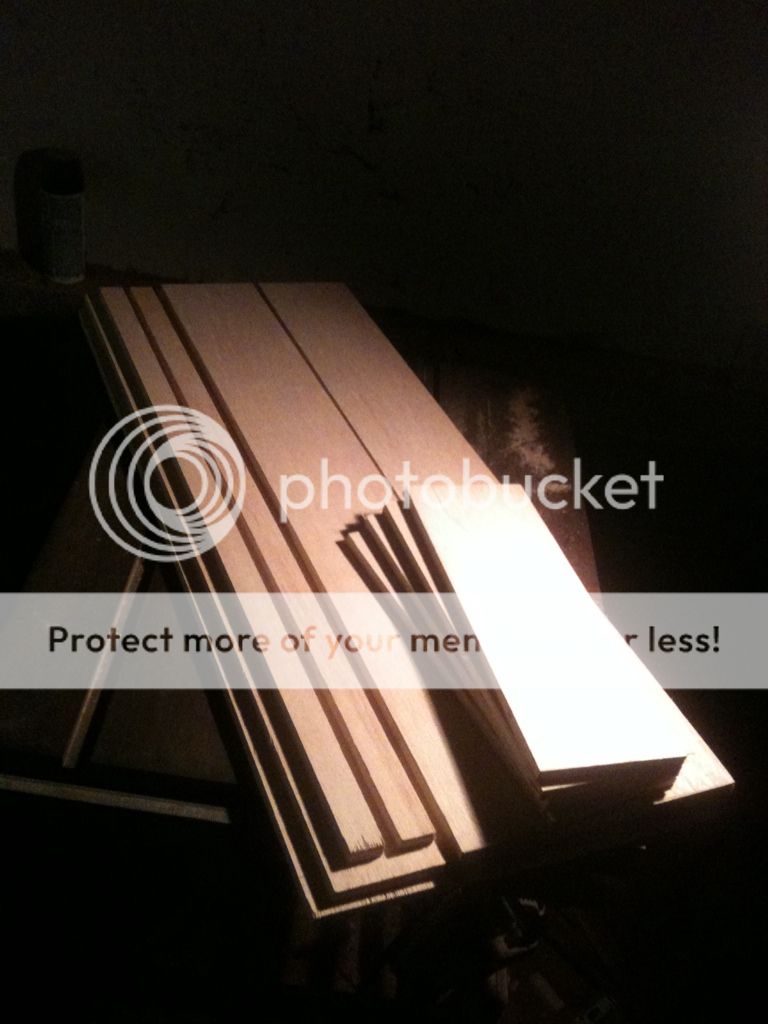
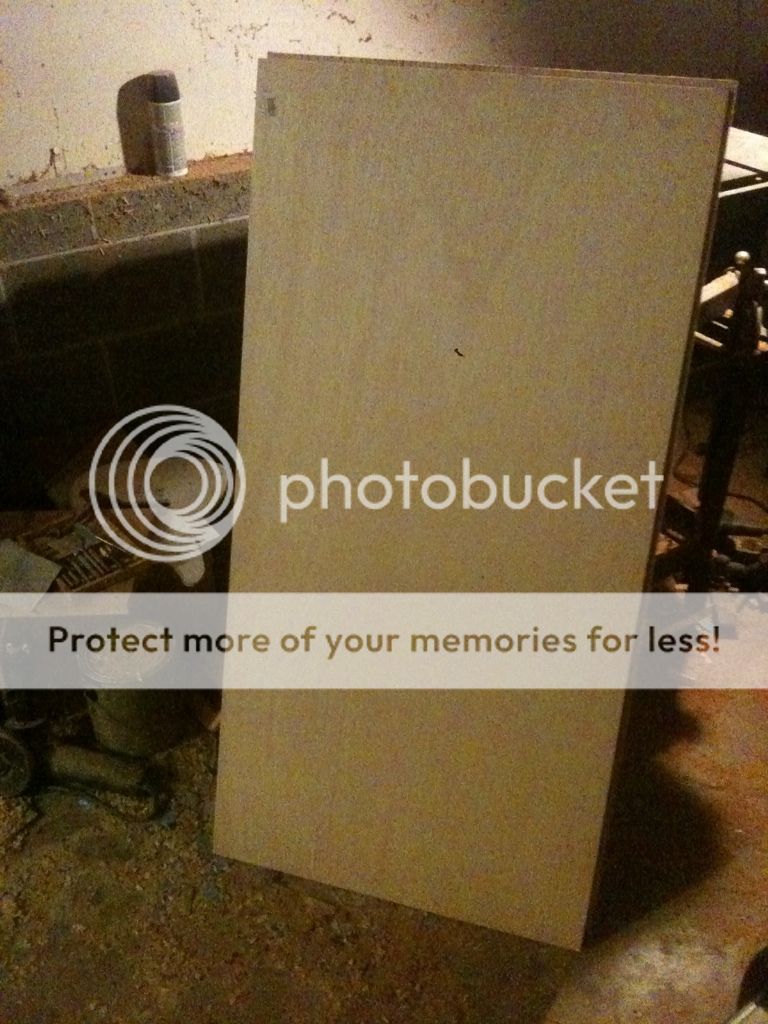
After a quick run to Home Depot for plywood, I got started.

Cut most of the pieces with my table saw, except for the large top and bottom sections that I cut to length with a circular saw.

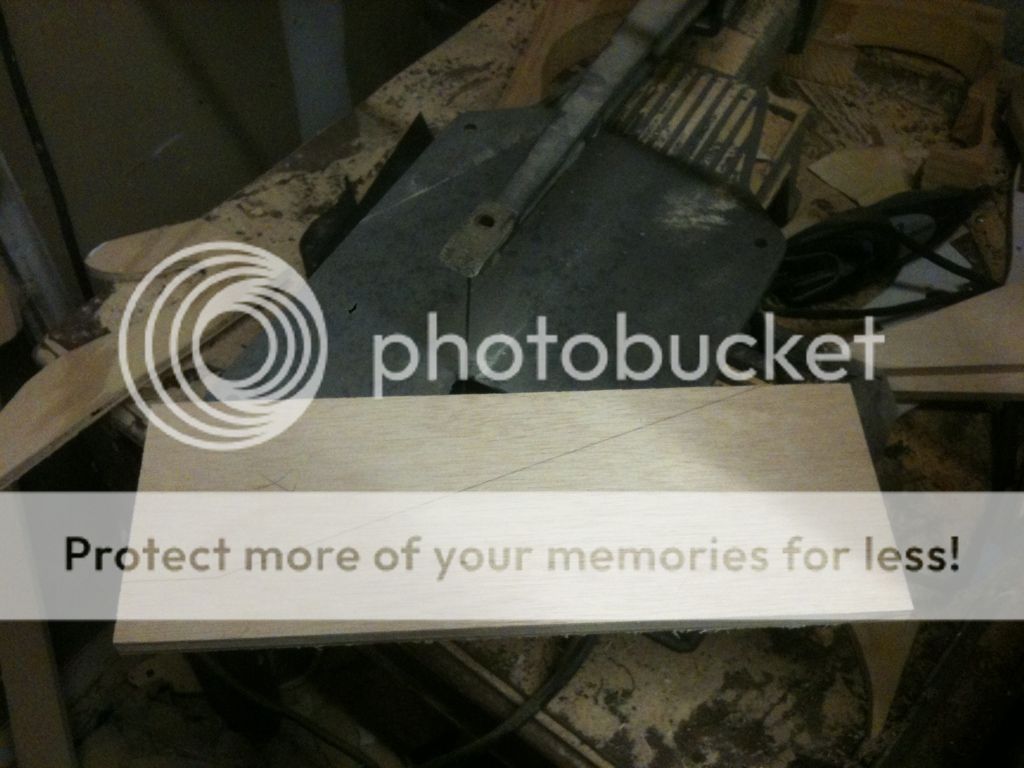
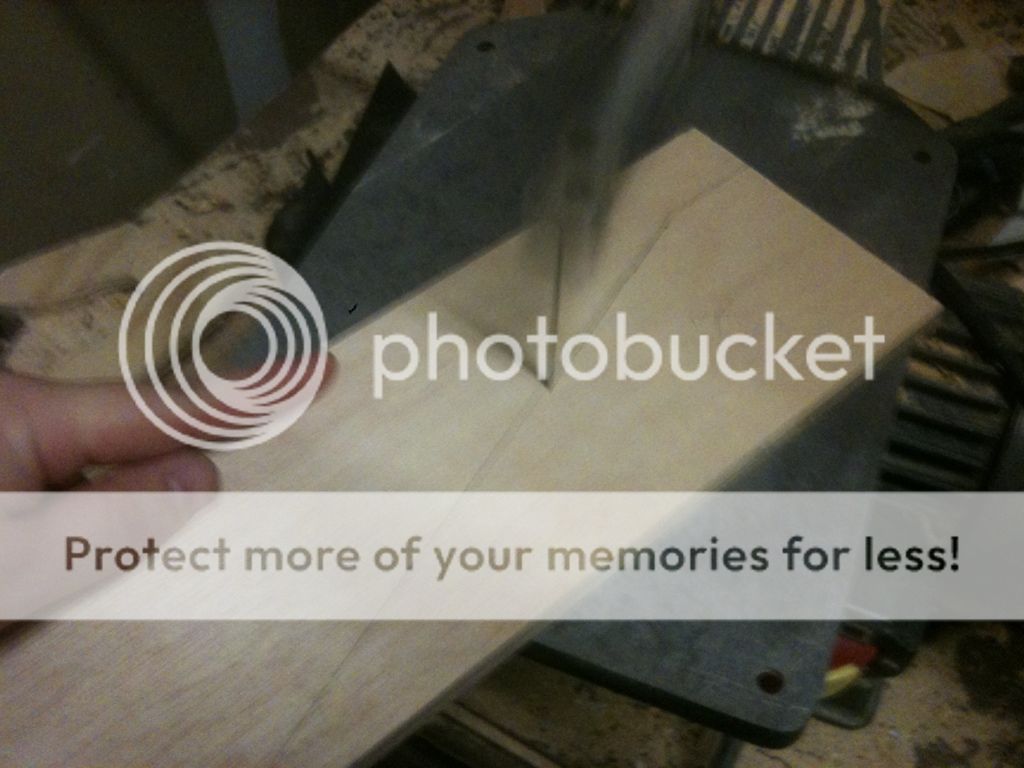
As you can see in the drawing, the sides are mostly angle, and I can't just run them through the table saw. So I measured out my pattern and drew in on the wood, then took it over to my scroll saw and cut just outside my lines.


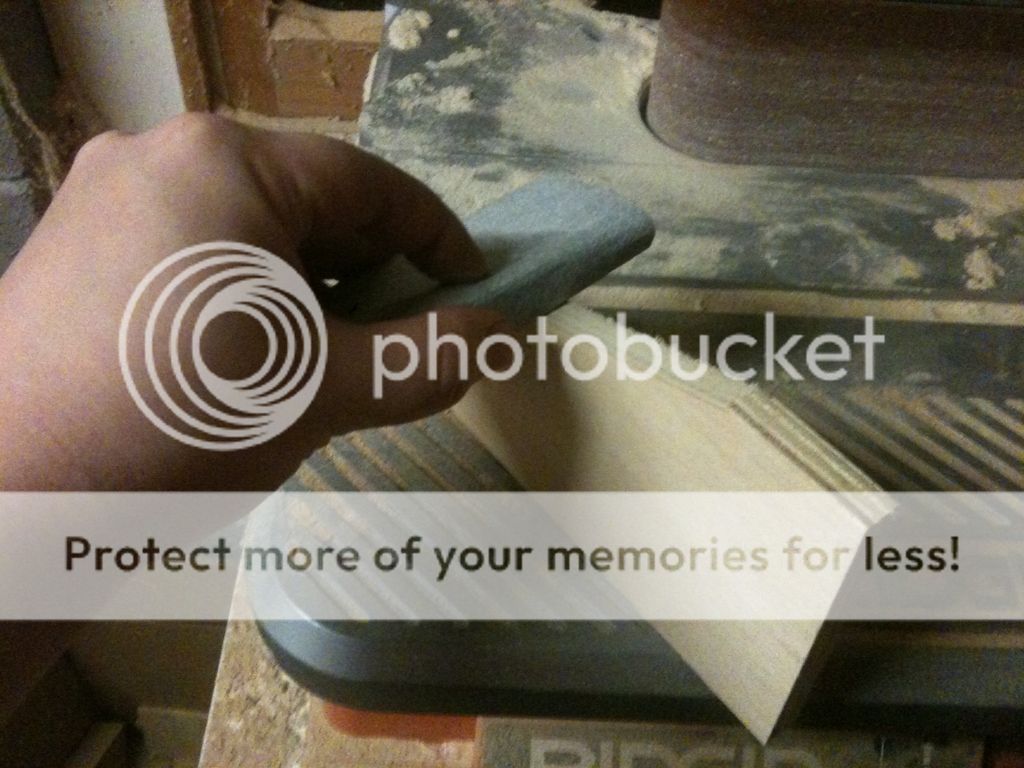
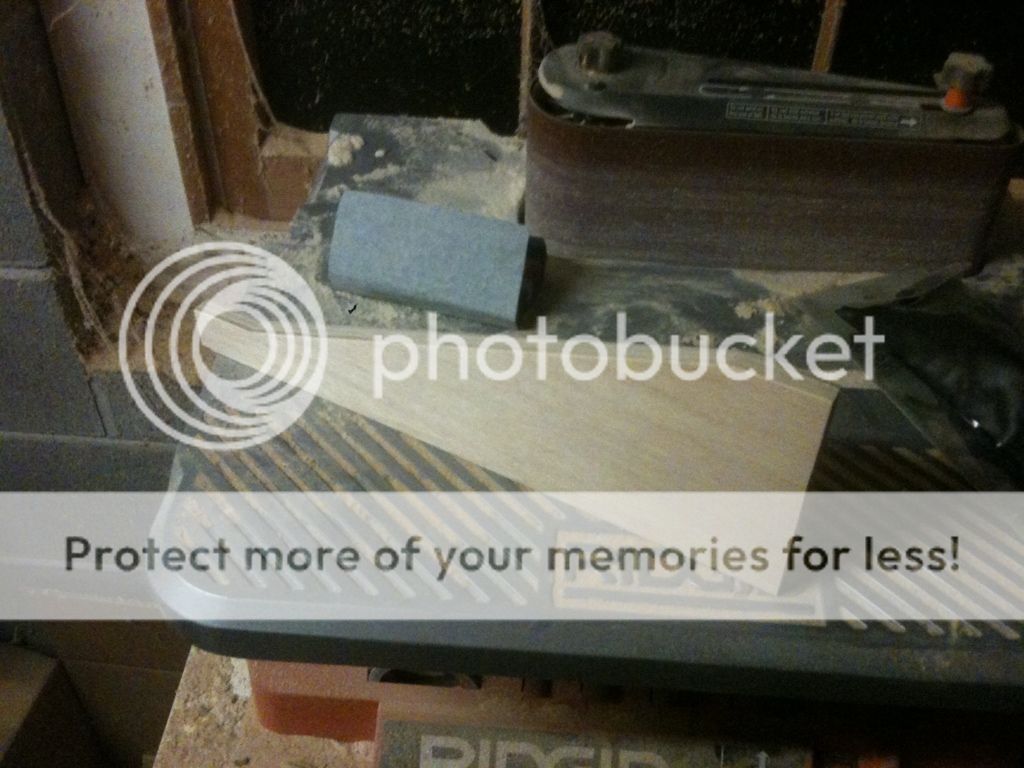
I then sanded the edge down even with the line by hand.


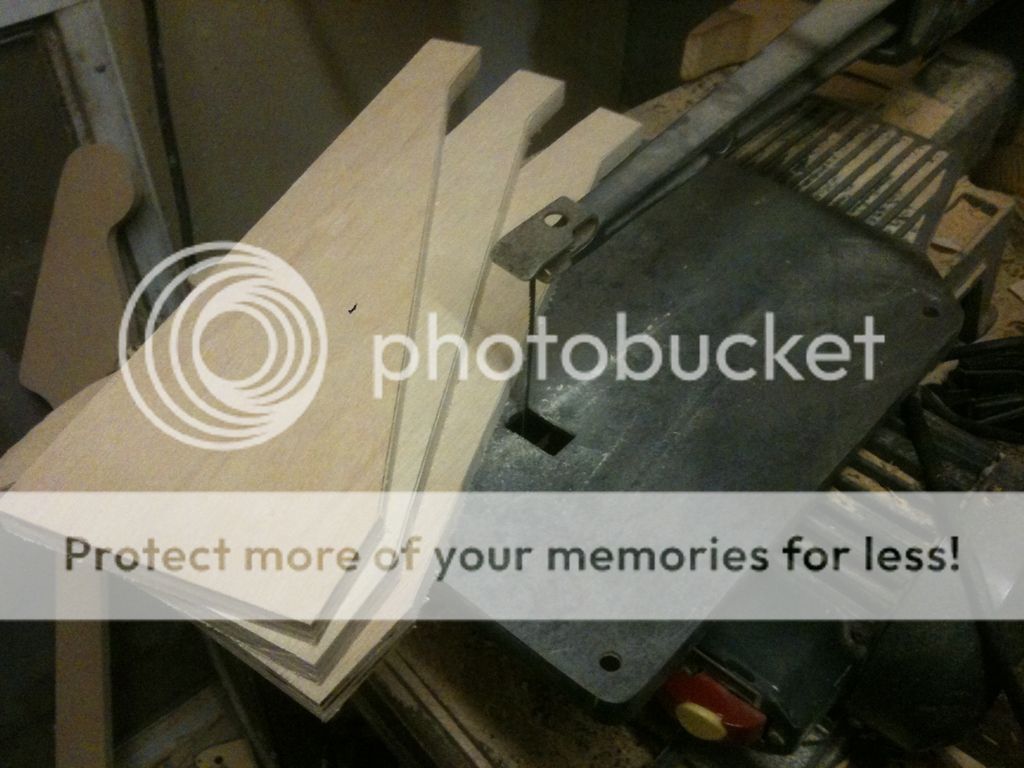
Traced the angle of the finished side piece on the other 3 sides, then rough cut those out on the scroll saw.