Thursday, September 12, 2013

I've slapped a few things together over the summer, but not much since it gets so hot in my shop. Mostly though, I continued my overthrow of the dining room table with more pedal projects.

First up is a Fuzz Face clone with an external bias control. This allows you to smooth the fuzz out, or if you crank it, get an octave up effect when playing higher notes. The circuit board is a clone of the original Dallas Arbiter Issue 2 board for NPN silicon transistors. (The transistors I used were 2N2222s)


Here's a demo clip: http://snd.sc/11pMSpr

Next up is a clone of the Devi Ever Electric Brown fuzz. I used a layout I got from Tagboard Effects (awesome blog btw)


Pretty simple circuit, but holy cow does this thing scream. Used a Radio Shack enclosure that I proceeded to cut down into a wedge. Used a rattle can hammertone for the finish and some Fender-style amp knobs. 


Here's a demo: http://snd.sc/11pMFm8

Lastly, I put together a clone of a version 1 Triangle Big Muff. Found a deal on a populated circuit board, so the only soldering I had to do was the off-board stuff. Graphics came out nice and it sounds really, really good. 


Wednesday, May 29, 2013

Can you smell the solder?

Mostly been bit my the pedal bug lately. This is a transparent overdrive with NOS Russian paper in oil capacitors for extra mojo. For the graphics, I was inspired by 50s-60s Harmony guitars, mainly the Stratotone headstock.


I also put together an Electro Harmonix LPB-1 booster for my buddy Jordan before he moved up to Michigan. He and I were in a band together and he will be missed.


Gut shot


I created the veroboard layout from a schematic on the web and designed it so that the control pot would be soldered straight to the board. That way the board doesn't have to be mounted with tape and I save myself some soldering.

Oh yeah, I'm going to be badging my pedals as "SOFA CAR EFFECTS" from now on. 


As far as actual guitars go, I'm wrapping up this bound fretless bass neck I've been building (that's taken me far too long) for my brother-in-law. The fret lines are painted on and I'm in the process of building up clear coat so they won't rub off easily. 


That's all for now.

Tuesday, April 9, 2013

Random Tidbits

I'm always working a bunch of stuff slowly, but lately I've caught the pedal bug. I had a small aluminum enclosure from an A/B switch I made a while ago that broke so I drilled an extra hole in the top and put in a passive volume attenuator. That's just a fancy way of saying I made a volume knob with a switch. Put it together for the mandolin player at church.


I also built a small fuzz pedal. Pretty much a one trick pony, but real fun to mess around with and sounds really good. Need to try it out on bass.


The knob controls the volume and turned all the way up just screams. Only way to control the amount of gain is to adjust your guitar's volume knob. Simple, but works well. I built it off this layout.


I've let a couple friends borrow it and they all really like it. I have a transparent overdrive I'm planning on building next, then a ZVex Woolly Mammoth bass fuzz clone and probably a Big Muff clone too.

I've also been kicking around the idea of making my own control plates for a couple builds. I've got a Jaguar that's been in the works for a while and I wanted plates similar to the ones on the Johnny Marr Jag, but couldn't find any online (not to mention how expensive they'd be if I did). So I decided to try my hand at some metal work. I also have a Telecaster prototype-inspired build I want to do so I made my first attempt making the basic control plate for that. Got some fine blades for my scroll saw and attacked some 1/8" thick aluminum stock. Filed out any irregularities and then wet sanded and polished.


I used a tiny little buffing attachment on my Dremel tool to do most of the polishing. Turned out pretty well. Better than I expected, but I'm going to invest in a larger buffing wheel I think. The Dremel attachment worked ok, but left some small streaks. I think it can mostly be attributed to the fact that the Dremel pad is about the size of a quarter and only a 1/4" thick. A bigger buffing pad would even things out better.

In closing, I'll leave you with this pic:


(Mini guitar I refinished for my littlest sister-in-law's 9th b-day. Rock on Melissa!)

Monday, March 4, 2013

Budget Les Paul Jr. build

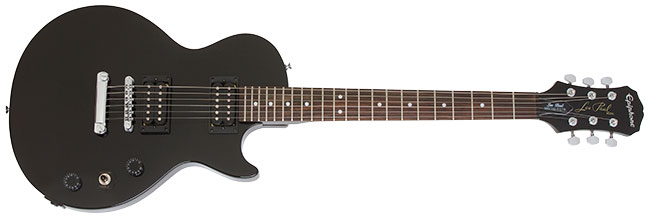
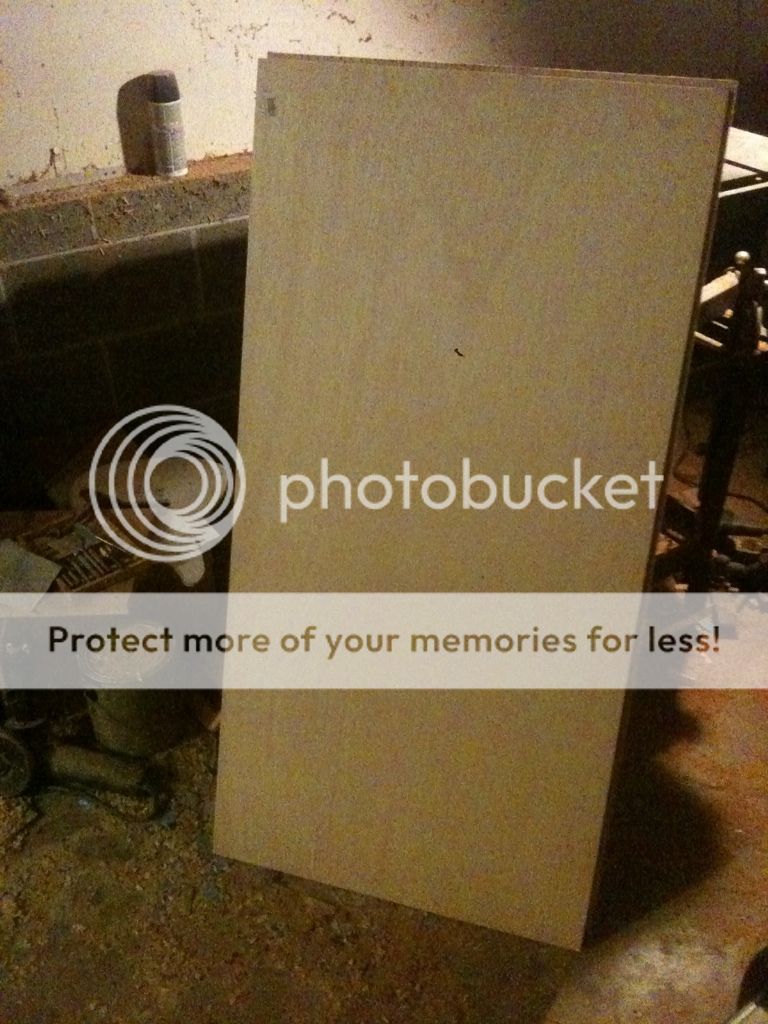
A few months back a friend of mine, who's just learning to play guitar, came to me and asked if I'd build him an electric. I asked him a few questions about what he wanted, and after a brief conversation about the specifics, he just told me to surprise him. The only prerequisite was it had to be fairly inexpensive. I knew he liked Les Pauls and I just so happened to have a discarded Epiphone Les Paul Special II body lying around my basement.


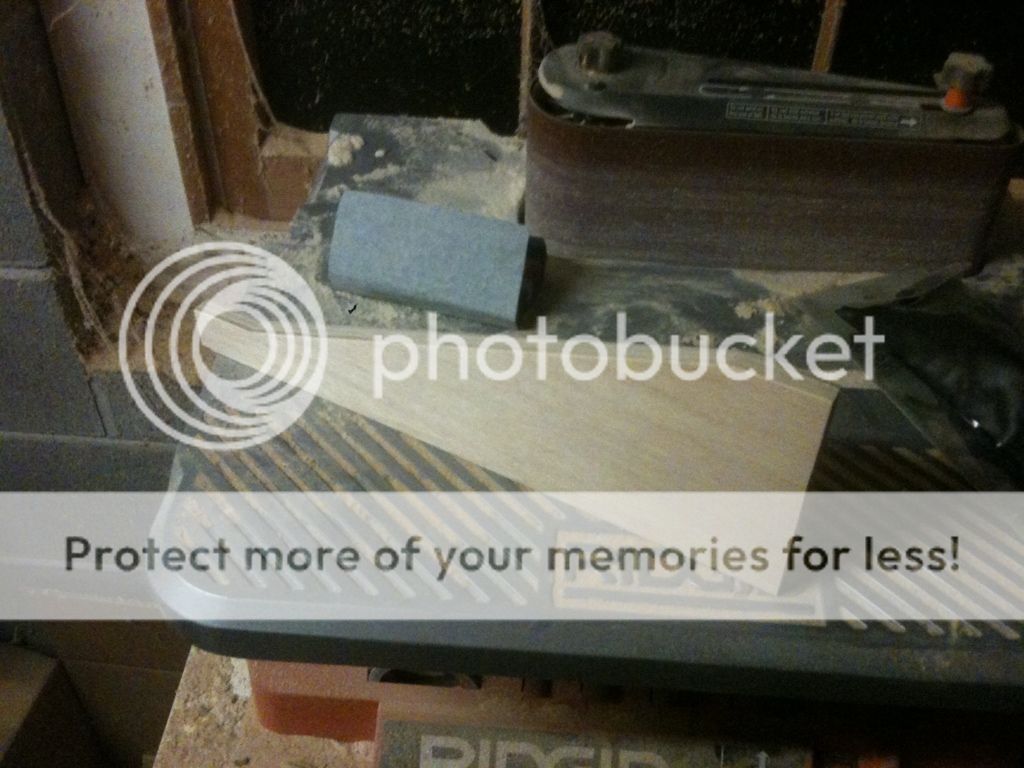
I could tell by the bare wood showing in the neck pocket that it was made from mahogany (or some Asian cousin) so I figured it had potential for this project. I wasn't a huge fan of the double humbucker configuration and the control layout bugged me, not to mention the insanely thick poly finish. So I set out to strip said poly finish off, hoping to see some half-way decent looking mahogany underneath. The chemical stripper I used didn't do much, and it certainly didn't reveal any mahogany. What finish I was able to remove revealed a thin maple cap. I'm guessing Epiphone uses these for the sunburst models and also so there's less grain filling involved in the finishing steps. Anyway, I took the body over to my router planer jig, and thinned the body down, eliminating the maple top (it was barely an 1/16" thick) a I also planed down the back, just enough to get off the thick finish. After some sanding on the ROSS (Rigid Oscillating Spindle Sander) I finally got it down to the bare mahogany.


I bought a new old stock Ibanez neck I found on eBay, along with a dogear P-90. I filled in the upper part of the neck pickup cavity so that a pickguard would cover it.


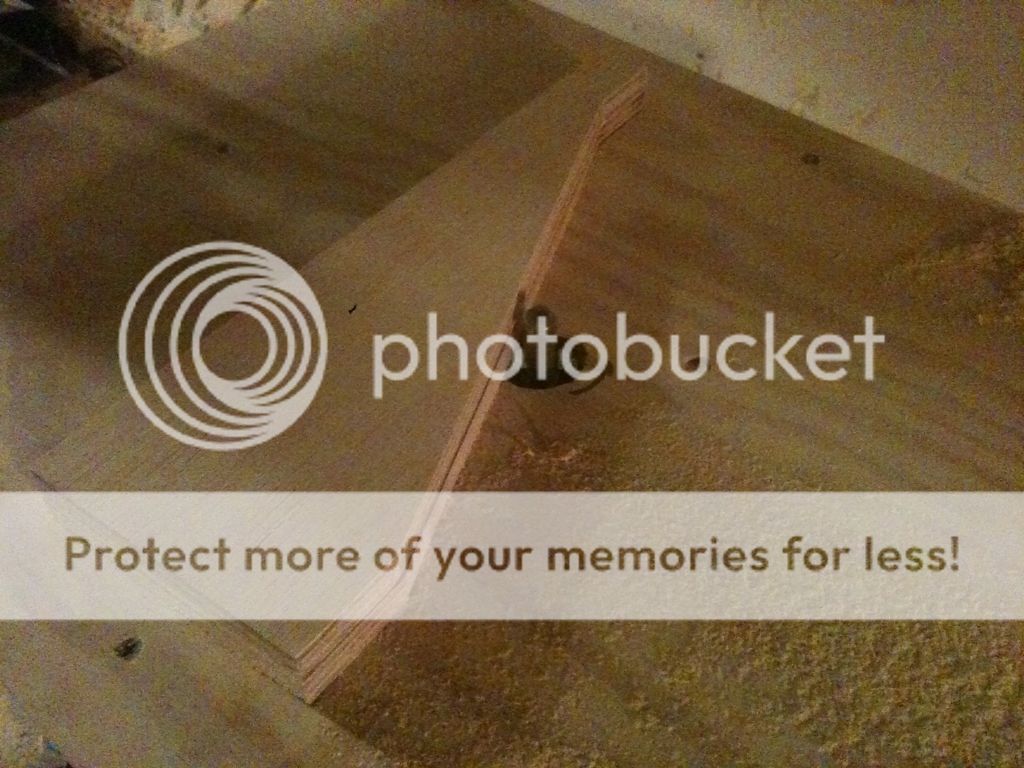
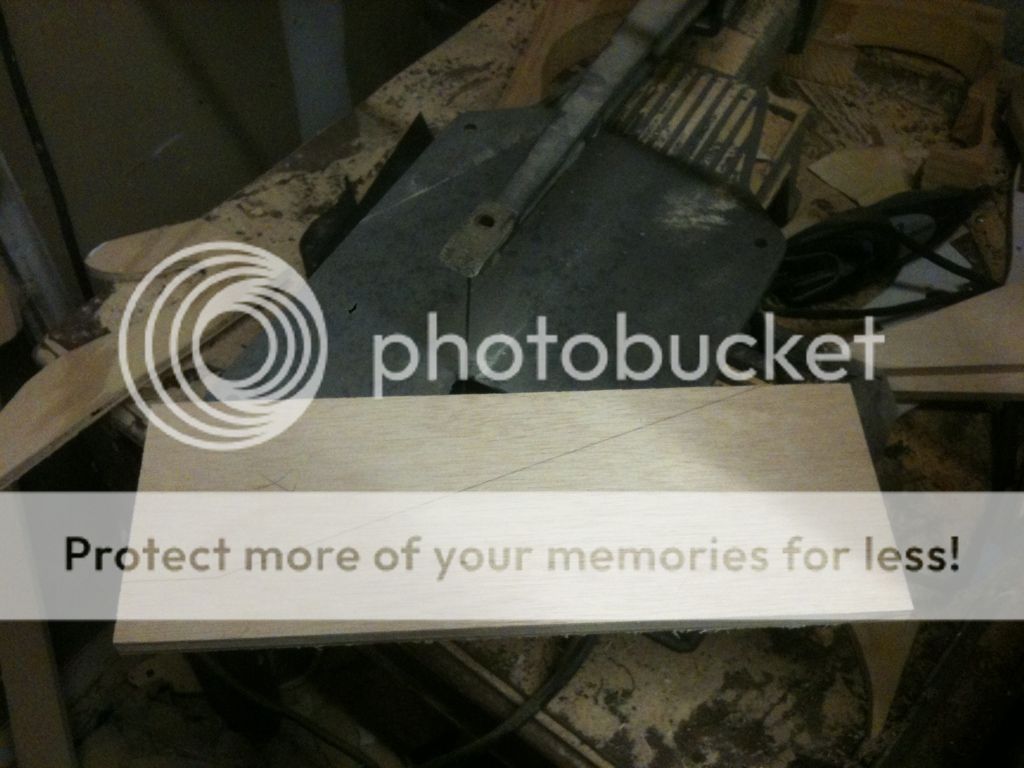
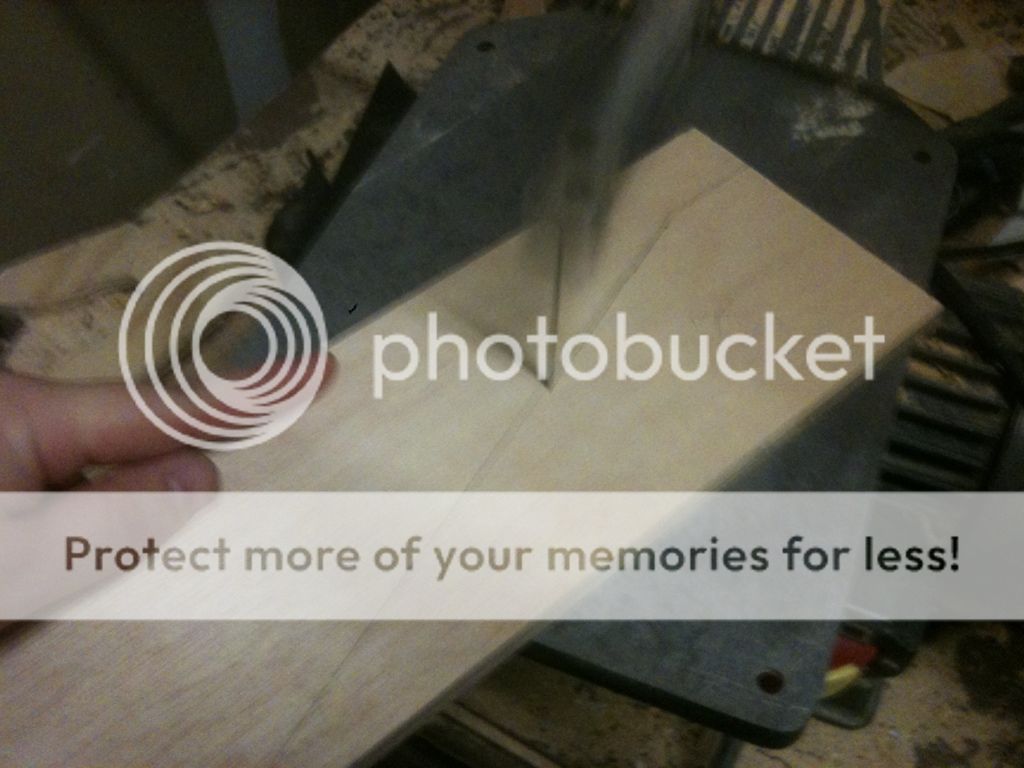
The shape of the pickguard is based on the shape used on Gibson's double cut Les Pauls. This covers any seams from filling the neck pickup route and doesn't deviate from the standard pickguard shape of LP Jrs. This pickguard I cut from black ABS plastic, then lacquered. I also had to put a thin strip of wood in the bridge pickup cavity on the side closes to the bridge holes, as the P-90 cover didn't cover all the original routing. And since a P-90 is wider than a humbucker, this cavity required some minor routing on the sides.

From here, I was able to starting putting a much thinner coat of paint on the body. I didn't use any grain filler because I wanted to have the wood grain to still be visible through the finish, similar to the TV finishes Gibson used in the 50s and 60s. I used a can of white I picked up at Lowe's and misted it over the body.


Once that had dried I shot a few coats of clear coat to protect and seal the white. After that had dried, I began installing hardware on the body.


Normally, Junior models had a wraparound bridge, instead of this Tune-o-matic bridge and stop tail setup, but since the body was already drilled for this type of bridge, I used the original Epiphone bridge.

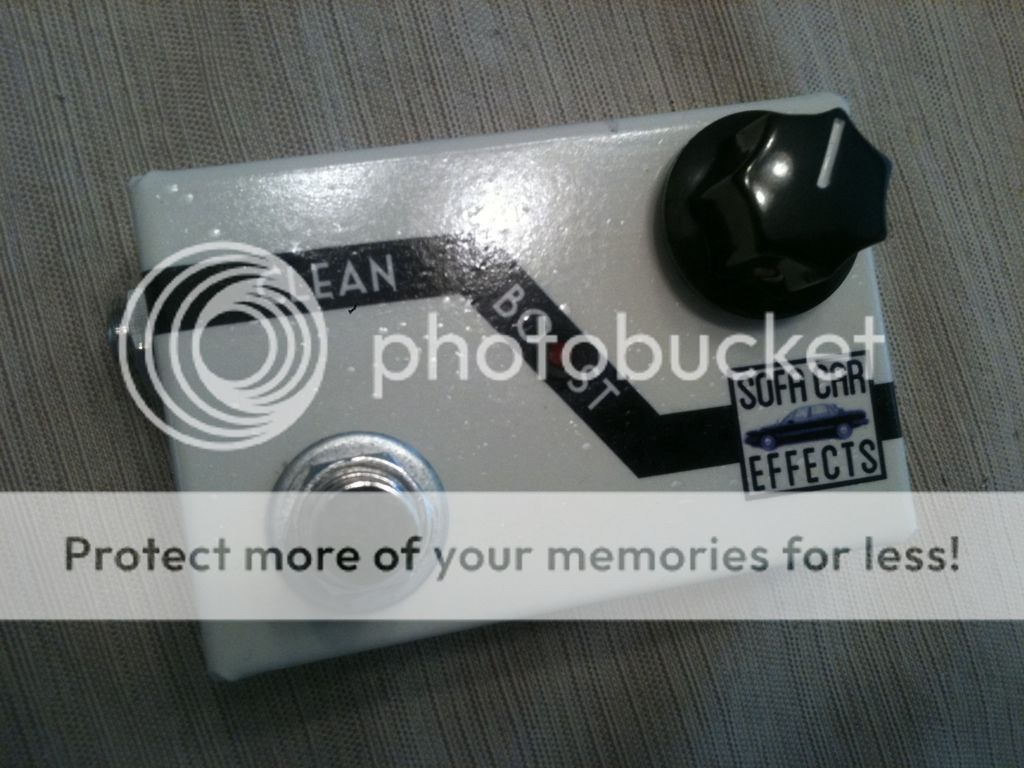
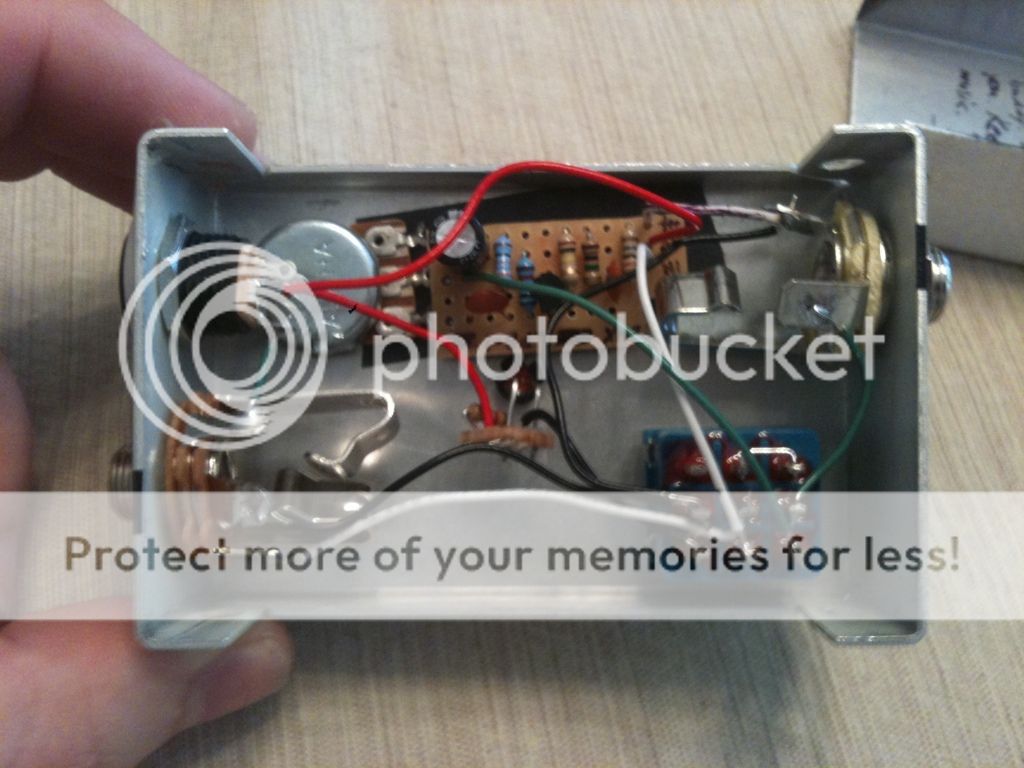
I wired up the P-90 to standard 50s Les Paul Jr. specs. 500k volume and a 250k tone controls with a .022uf capacitor.

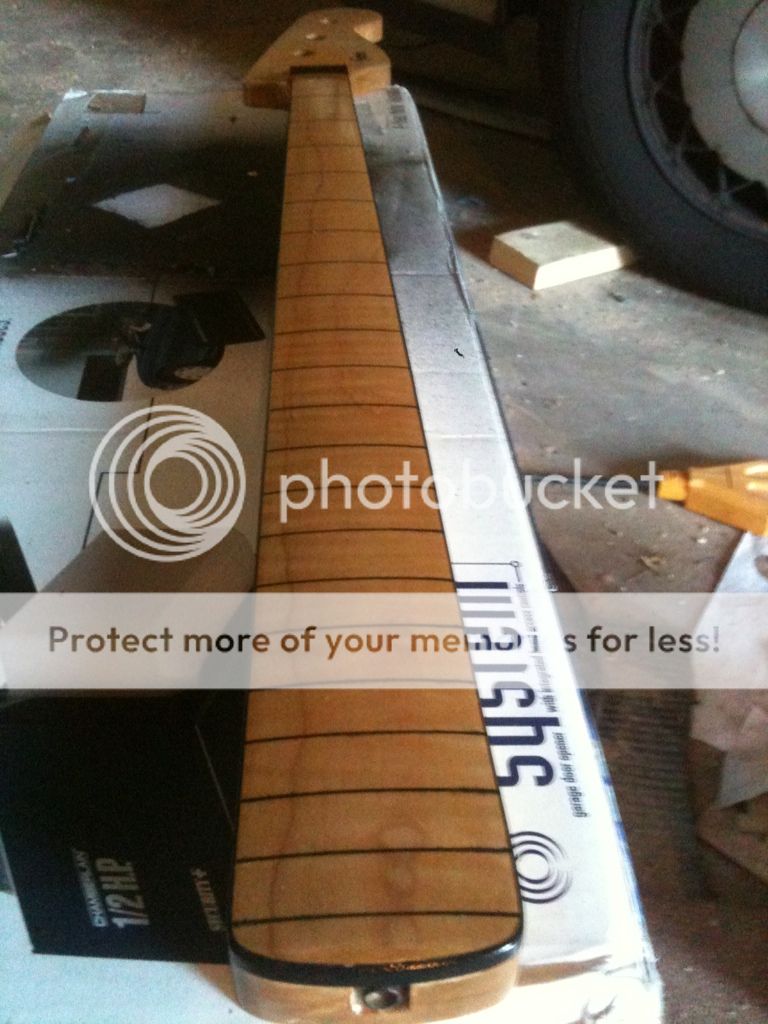
Before I could attach the neck and string this one up, I needed to refinish the headstock on the Ibanez neck. I had begun the process before I stared painting the body and even though I used the same paint on both, the headstock didn't end up matching the color of the body. The paint I used was an off-white that when sprayed normally looked like this.


But since I misted the same paint onto the body, it looked more white then yellowed like the headstock. This is where I ran into issues. I sanded off the majority my first refinish and started again, this time with some cheap white paint I had left over from another project. If I learned nothing else from this build it was not to mix paint manufactures. After a couple coats of the white, the finish started to crinkle and crack. This white paint was reacting with what was left of the previous paint. This happened several times with the white, each time sanding down the wrinkles and trying again. Fed up with the white I decided to try black. Now with this coat, I'm not sure if it reacted with the previous coats of paint or just cracked because it was a little cold in my workshop, but it was the worst crinkling up of paint I'd ever seen.


Giving up on paint, I sanded the headstock down to the bare maple and then clear coated it. This worked out for the best because it allowed me to apply my decal (which wouldn't have showed up against a black headstock) and I didn't have to worry about color matching between the body and headstock. Here's the end result.


The headstock has some cool figure in the maple, which also sold me on going with a natural finish. Once the clear coat had cured, I was able to finally assemble the guitar. I strung it up with .10s and it's ready for delivery.


Tuesday, February 5, 2013

Rich McCoy Custom Pedal Board - Part 3

Now it's time to make this thing look like a road case. I covered the box in thick black contact paper, using super glue to hold down any areas that wouldn't stick. Don't have any pictures of this. My hands were full of stick stuff.

For the edges I used 1" angle aluminum from Lowe's. This will help protect the edges for caving in if the case gets kicked, dropped, thrown, etc. I cut the aluminum to length on my scroll saw with a special hack saw blade.


Then I pre-drilled holes in the aluminum pieces and secured secured them to the box using #8 metal screws. I also attached the corners and clamps from Reliable Hardware as I attached the aluminum edging.


To make sure the top and the bottom halves stay together when the case is latched I took some left over aluminum and screwed it into the corners of the top half, leaving them about half an inch proud. This will keep the two halves from sliding away from each other.


Then, using spray adhesive, I glued some 1" thick foam to the inside of the top to pad and help secure the pedals when the lid is on. 

Finally, I attached the rubber feet, handle, and latches.


The final touch is a hand inscribed name badge on polished aluminum. (A nice way of saying I scribbled my name on some scrap metal and screwed it on. haha!)


Ready for delivery.


Friday, January 25, 2013

Rich McCoy Custom Pedal Board - Part 2

To finish the sides, I need to get the angles to fit together. So to exactly duplicate the first side I completed, I used that same side as a template for all the others. I used double-sided carpet tape to secure the template onto the rough cut sides, then used my router to duplicate the edge exactly.


From there I can go on to assembling the two halves of the box. Using 1.75" wire brads, I tacked all the pieces together.


Test fit the top...


Next I'll cover the plywood with thick, black contact paper, and put angle aluminum stock from Lowe's or Home Depot along the edges. This will reinforce and protect the joints from any damage that could occur in handling. On the inside of the top I'll install some 1" thick foam to pad the top of the pedals and keep them from coming loose when the lid is on.

For hardware I ordered the handle, latches, corner pieces and rubber feet from Reliable Hardware. Shipping was a bit steep for the few things I ordered, but they're still the cheapest place that I've found. And all their hardware is made in the USA, so that's a plus.


Rich McCoy Custom Pedal Board - Part 1

Recently the electric guitarist from my church came to me, asking if I could build him a pedal board. He  explained that he'd recently bought a TC Electronics G-system as a second rig.


The brain of the G-system will be housed in a rack, along with a couple other pedals, but he wanted a custom board and case for the foot controller and 2 volume/expression pedals. Since the G-system is already angled, he didn't want the board itself to be angled. After some thought we decided to combine the pedal board and road case into one unit–the pedals would attach to the bottom half the case and the upper half would be removable. He sent me some measurements of the footprint of the equipment and I drew up a plan.


After a quick run to Home Depot for plywood, I got started.

Cut most of the pieces with my table saw, except for the large top and bottom sections that I cut to length with a circular saw.

As you can see in the drawing, the sides are mostly angle, and I can't just run them through the table saw. So I measured out my pattern and drew in on the wood, then took it over to my scroll saw and cut just outside my lines.


I then sanded the edge down even with the line by hand.


Traced the angle of the finished side piece on the other 3 sides, then rough cut those out on the scroll saw.